ES-S108 AV equipment rack Instruction manual
реклама
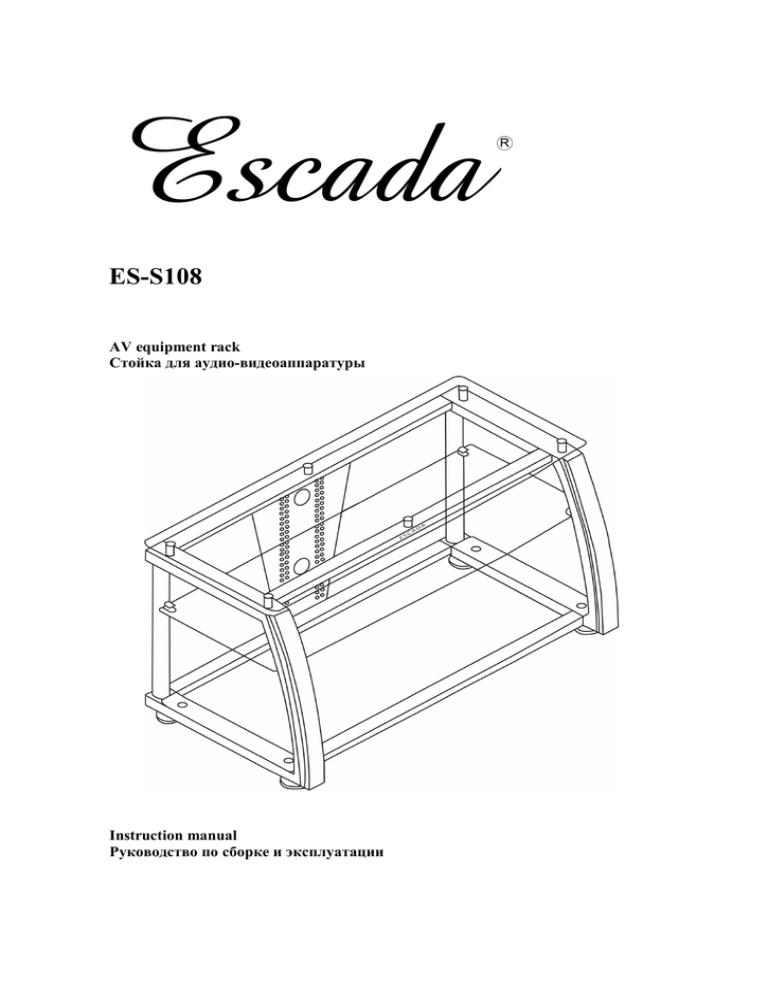
ES-S108 AV equipment rack Instruction manual Components Item Part name Quantity, pieces A Left and right side frame 2 B C D E F G Adjustable leveling feet Rear top bar Screws Rear bottom bar Front bottom bar Front top bar 4 1 16 1 1 1 H Glass stropper 2 I Screws 4 J Rear panel 1 K Bottom glass shelf 1 L Middle glass shelf 1 M Top shelf supporters 4 N Screws 4 O Plastic washer 10 P Top glass shelf 1 Q Glass top fastener 4 R Gloves 2 S Cloth 1 T Hex head screw driver 1 2 Drawing Technical characteristics 3 glass shelves 8/6/6 mm tempered glass Steel frame Built-in cable management system Distance between shelves 133.5/276/65 mm Adjustable height middle shelf Adjustable feet Top shelf maximum load 60 kg Middle shelf maximum load 30 kg Lower shelf maximum load 60 kg Dimensions: 1100 mm (W) x 540 mm (D) x 538 mm (H) 3 Assembling manual Notes: It is recommended to put on glove before assembling the unit, not to leave prints on surfaces. Two people are recommended to assemble this unit. 1. Insert two adjustable leveling feet (B) into the bottom of each side frame (A). 2. Place plastic washers (O) on the middle holes of the rear (C) and front (G) top bars, then screw glass stroppers (H) into each of the holes. Align internal holes of both side frames with lateral holes of rear and front top bars and of rear (E) and front (F) bottom bars. Screw the four bars to the side frames with screws (D) using all the 16 screws. 1 2 3. Align the top holes of the rear panel (J) with the holes of the rear top bar, and bottom holes of the rear panel with the holes of the rear bottom bar. Screw the rear panel to both rear bars with screws (I) using all the 4 screws. 4 3 4. Place the bottom glass shelf (K) on the lower bars of the side frames and on the front and rear bottom bars. 4 5. Place the middle glass shelf (L) inside the rack construction on the level of shelf clamps. 5 6. Insert the edges of the middle glass shelf into clamps. The clamps are equipped with in-built screws. Tighten the screws with a screw-driver included in the package, to secure the middle glass shelf. 6 5 7. Fasten a top shelf supporter (M) with a screw (N) using a plastic washer (O) to each top corner of both side frames. Align corner holes of the top glass shelf (P) with shelf supporters. Place a plastic washer on each hole of the top glass shelf, then screw glass top fasteners (Q) into each hole. 7 8. The complete assembly of the rack should look as shown in Picture 8. 8 Precautions 1. 2. 3. 4. Do not load the shelves over permissible load. Do not scratch the glass, do not use abrasive matters for cleaning. Clean the glass with smooth cloth. Before assembling let the glass and components take room temperature. 6 , A 2 B C D E F G 4 1 16 1 1 1 H 2 I 4 J 1 K 1 L 1 M 4 N 4 O 10 P 1 Q 4 R 2 S 1 T 1 7 3 8/6/6 133,5/276/65 60 30 60 : 1100 ( ) 540 ( ) 538 ( ) 8 , . . 1. (B) (A). 2. 1 2 (O) (C) , (G) (H) . (E) (F) . (D), 16 . 3. (J) 3 , . (I), 4 . 9 4. (K) 4 . 5. 5 (L) . 6. 6 . . , , . 10 7. (M) (N), (O) . (P) . , (Q) . 7 8. 8 . 8. 1. 2. 3. 4. , . . . 11

